Why Raised Beds?
Most people are surprised to learn that tomato roots draw not only water and nutrients from the soil, but also oxygen for respiration. The roots of most plants need to breathe! Roots subjected to standing water will eventually die, suffocating the plant in the process. The ideal soil for growing vegetables contains a mixture of sand (for drainage), silt, and clay (for structure and water retention). However many people do not have anything resembling good soil in our backyards.
If you live in an area with heavy clay or caliche soil that provide extremely poor drainage (water stands for more than 2 hours), you should consider a raised bed. While the red clays of the Southeast coast of the US can be like cement, the Gulf Coast clay can be almost like play-doh, with a sticky/gummy texture nicknamed “gumbo”. It is counterproductive to try to amend or improve these soils directly because the drainage problems will remain. If you pile good soil on top of bad, your expensive soil will likely wash away during heavy rains. If you dig down a few inches and exchange poor soil with good, you create a “bowl” effect which will fill up with water during rainstorms and may not drain for days. Raised beds “rise above” this problem by providing loose, well-draining soil for at least the first 8-10 inches of roots of your plants.
Other parts of the country have the opposite problem, as their backyard is so sandy it resembles a beach! Soil made up almost entirely of sand will drain so effectively that plants grown directly in the ground could require almost daily watering and frequent application of fertilizer as it is diluted and washed away. Sandy soil also offers an ideal environment for Root Knot Nematodes (RKN). These microscopic worm-like creatures take up residence in the roots of your plants and steal water and nutrients from growing plants. Please see the Pests & Diseases article for more info on diagnosis, prevention and treatment of RKN.
Getting Started
A raised bed is simply a mound of good soil on top of existing soil, contained within wooden, plastic, or stone barriers. Some parts of the world have excellent soil and plants can be grown directly in the ground, however I’ve mostly lived in places where raised bed gardens or container growing are preferable or even necessary. If raised beds sound impractical for your situation, check out our Container Gardening article for help with growing in pots.
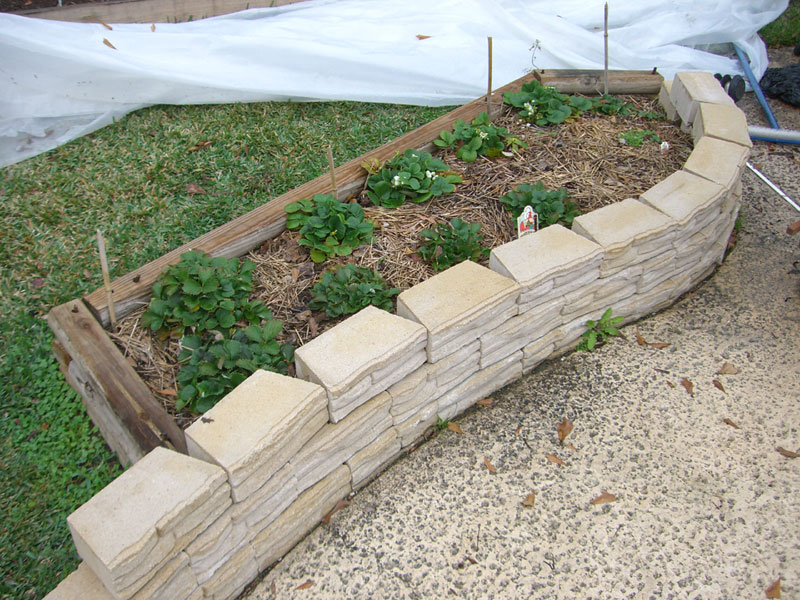
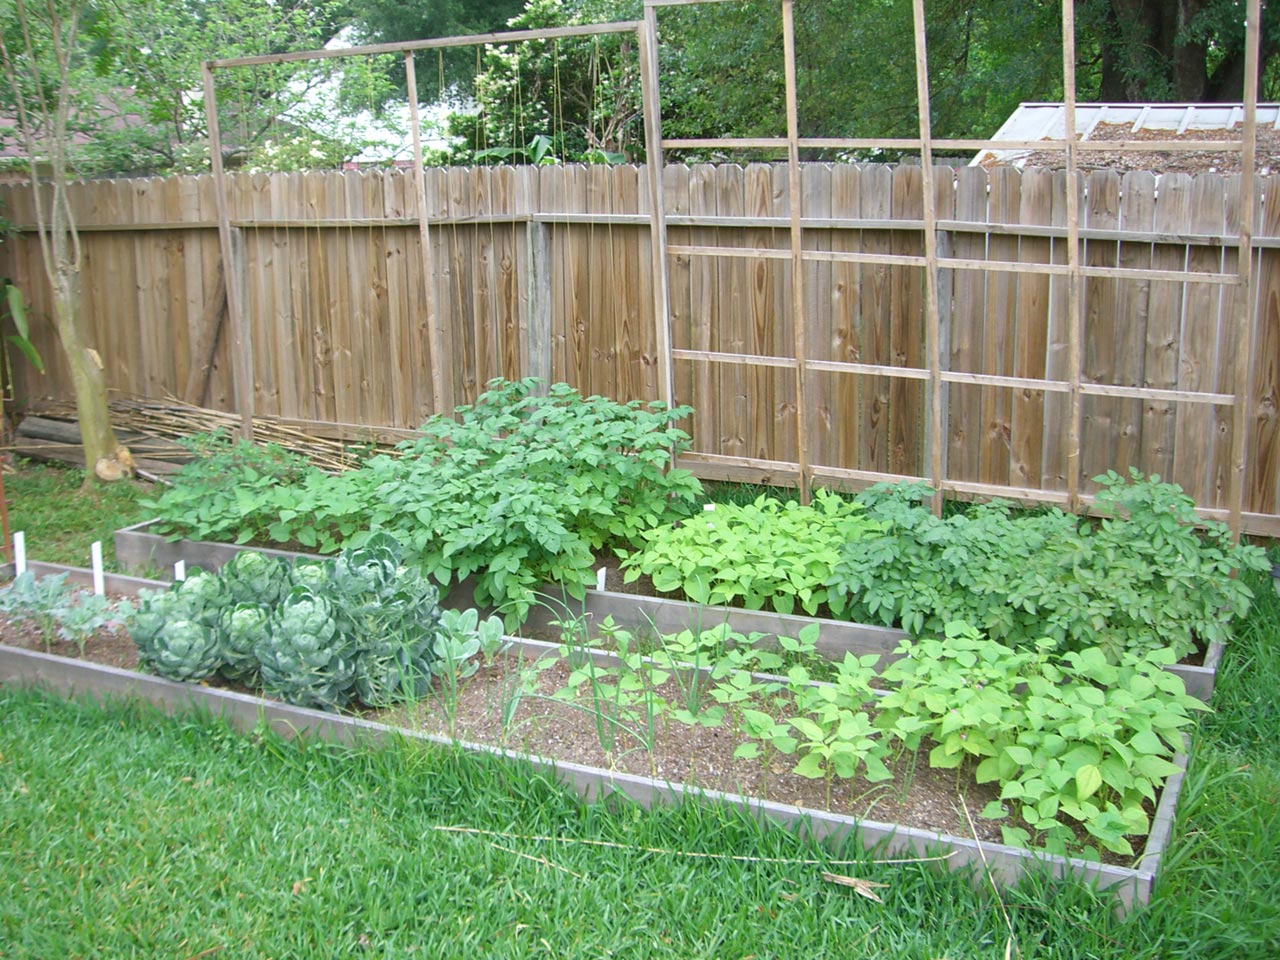
A raised bed can be defined by paving stones, bricks, loose pieces of concrete, large rocks, old fence boards, or lumber from your local home improvement store. Standard lumber wood is vulnerable to termite damage and may crumble to dust in as little as 2 years. A raised bed built with pressure treated lumber will last 3-5 years. Pressure treated wood sold today is treated with copper, as compared to the arsenic-based compounds used before the turn of the century.
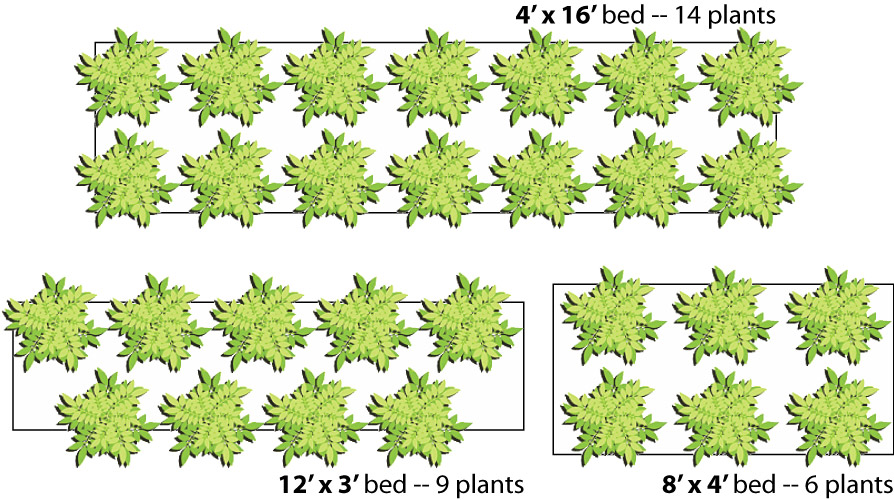
A raised bed does not need to be square, a rectangle, or have any straight lines at all. However raised beds should be generally be 2-4 feet wide, with a width of no longer than 16 feet. Limiting the width of the bed allows you to reach into the center of your garden to perform routine maintenance of weeding, picking off diseased leaves, or harvesting without stepping in the bed. If you are forced to step in the bed, your feet will compact the soil, damaging roots in the process and discouraging earthworm activity. As for the length, there are no hard-and-fast rules, however a 4′ x 16′ bed makes for a good project size without being overwhelming. If you can divide up your time and get one bed completely cleaned up, prepped and planted in a weekend, you are far more likely to stick with it. Larger beds may present an overwhelming challenge to even experienced gardeners.
Here are some raised bed sizes that we have had success with (see also the chart at the top of this article), but you do not have to limit yourself to these sizes:
| 4′ x 8′ 122cm x 244cm |
6 large tomato plants or 8 smaller tomato plants |
| 3′ x 12′ 91cm x 366cm |
9 large tomato plants |
| 4′ x 16′ 122cm x 488cm |
14 large tomato plants |
Building a Raised Bed
Cost is always a factor when building a raised bed. Compare prices for lumber at your local home improvement store for 8″, 10″, and even 12″ widths in 8, 12, and 16′ lengths. You’ll also want to buy a single 4″ x 4″ post to make corner pieces as these strengthen the bed. For fastening the bed together, weatherproof deck screws are recommended, of #8 or #10 thickness.
Using string or a tape measure, mark out the rough dimensions of your raised bed and use fluorescent paint or scrap wooden stakes to indicate the corners.
Grass Out…
There are several different ways to eliminate the grass and weeds in your new garden area:
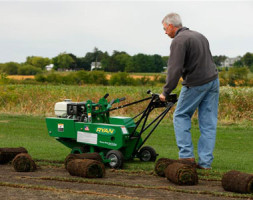
- Rent a Sod Cutter to peel off the top layer of grass. You can even roll it up and plant it elsewhere if you have any bare patches in your yard. The machine can be a bit unwieldy to use and requires some force to navigate as well as loading and unloading the gas-powered machine into and out of your vehicle.
- Apply cardboard (packaging material, broken down and with tape removed) to the area, water thoroughly, and then add your garden soil. Weeds will be smothered under the soil. Cardboard and several inches of soil may not be sufficient to smother pervasive grasses such as Bermuda.
- Apply Roundup or other herbicide to the planned area. Not effective against all grasses, and the obvious concerns about growing vegetables in the herbicide-treated soil apply.
…Soil In!
To buy enough soil to fill your garden bed to your preferred depth, we need to do a little math. A 4′ x 16′ bed works out to 64 square feet after we multiply the width x the length. If you filled a 4 x 16 bed 1 foot deep, you’d need 64 cubic feet of soil. We can modify this formula to come up with different depths…
| Dimensions | Depth | Soil Needed |
| 3′ x 12′ | 12″ | 36 cubic feet |
| 3′ x 12′ | 8″ | 24 cubic feet |
| 3′ x 12′ | 6″ | 18 cubic feet |
| 4′ x 16′ | 12″ | 64 cubic feet |
| 4′ x 16′ | 8″ | 42.6 cubic feet |
| 4′ x 16′ | 6″ | 32 cubic feet |
You may be tempted to buy the inexpensive ($1.50-2.50) bagged soil at big box stores. Be aware that there is no legal definition of “potting soil”, “compost”, or “topsoil” and unscrupulous companies bag up whatever junk they can scrape off a vacant lot or recently cleared land and put it into these bags. People have found flooring material, broken glass, baling wire, etc. in these bags. A quick search of EarthGro reveals average reviews of 1.5 stars out of 5.
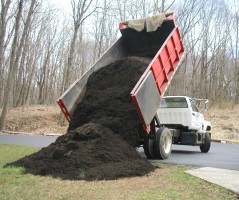

If you have a local soil yard in your area, I suggest reaching out to them to see if they have a Garden Mix or Deluxe Mix which is suitable for vegetable gardening. If you have any hesitation that they might be overselling the quality of the soil, inquire at one or more local nurseries about what they recommend for garden soil.
Ultimately, look before you buy. Feel and smell the soil, ask what % of what components make up the mix. Ideally, you want a mix that has at least 25-33% good compost. The soil mix should be light and free draining.. Take a half gallon pot with you, fill with the mix and water. If you end up with a heavy pot and concrete-like soil after watering, go elsewhere or ask to see a better mix.
Unless the delivered garden soil is truly excellent, you’ll want to amend it with one or more of these great amendments:
- Premier Pro-Mix
- Black Kow composted cow manure
- Sheep, Llama, or Rabbit manure (fresh)
- Elephant or Horse manure (aged 6+ months)
- Cotton Burr Compost
- Mushroom Compost
Be sure to vary compost sources as animal manures can be high in salts. Also there have been reports of cotton burr compost testing positive for herbicides.
* UNDER CONSTRUCTION *
Fertilizer: Don’t Overdo it
+ The right nutrients (avoid high nitrogen!) — TomatoTone / Earl’s Planting Method. Using Miracle Gro every week at full strength is not recommended. Too high in nitrogen.
++ Epsom Salts, Pelletized Lime
Don’t use too much of any one thing. Less is more, especially right after planting. If in doubt, use the minimum recommended amounts.
The Right Watering Strategy
++Watering and mulching practices.
Mulch heavily, water deeply and infrequently to train the roots to go deep. Soaker hoses are helpful. Wheat straw mulch (see mulch discussion in Containers article). You should not have to water more than once every 5-7 days even when the plants are large. Less frequently when plants are small and have not set significant fruit. It is not unusual for me to not have to water for at least two weeks after I have initially planted, especially if the plants were well watered and mulched right after planting. When plants are young, if in doubt, do not water.