Introduction
Once you’ve successfully started tomato plants from seed, you will probably never need to read a How To article on the subject of Seed Starting again. Given the right conditions, tomato seedlings practically grow themselves — after all, tomatoes and their wild brethren have been growing for thousands of years without human intervention. Yet Seed Starting articles tend to be of an almost interminable length (and this one is no exception). Why?
Nationwide (and worldwide), the availability and selection of soil, fertilizers, and other seed starting materials varies widely. The actual method of starting tomatoes is straightforward, but making sure you have reliable and suitable materials can be tricky. We walk through exactly what you need so there are no surprises.
In nature, tomato seeds germinate at their own leisure whenever sunlight, water, and soil conditions are viable. This is OK because each tomato fruit tends to have hundreds of seeds. However most of us are working from a packet of 30, 15, or fewer seeds and want to avoid wasting any by ensuring perfect germination. This guide sets you on the right path to create the necessary conditions so that 100% of your seeds germinate and produce healthy tomato seedlings.
It is tempting to rely on the local nursery (especially if you have a smaller mom-and-pop business nearby rather than the big box stores), however if you wish to grow certain must-have varieties, this strategy may lead to disappointment. Some of our favorite varieties are relatively new on the scene, aren’t widely known, or aren’t popular, so the only solution is to grow seedlings ourselves. It’s worth learning how to successfully start your own seeds so you can always grow the exact tomato varieties you want.
Let’s start with the most straightforward step-by-step instructions possible for growing tomato plants from seed to seedling to planting into your garden. We’ll keep this section as free from unnecessary details as possible and then expand on those areas in separate sections below.
- Tomato seeds
- Water
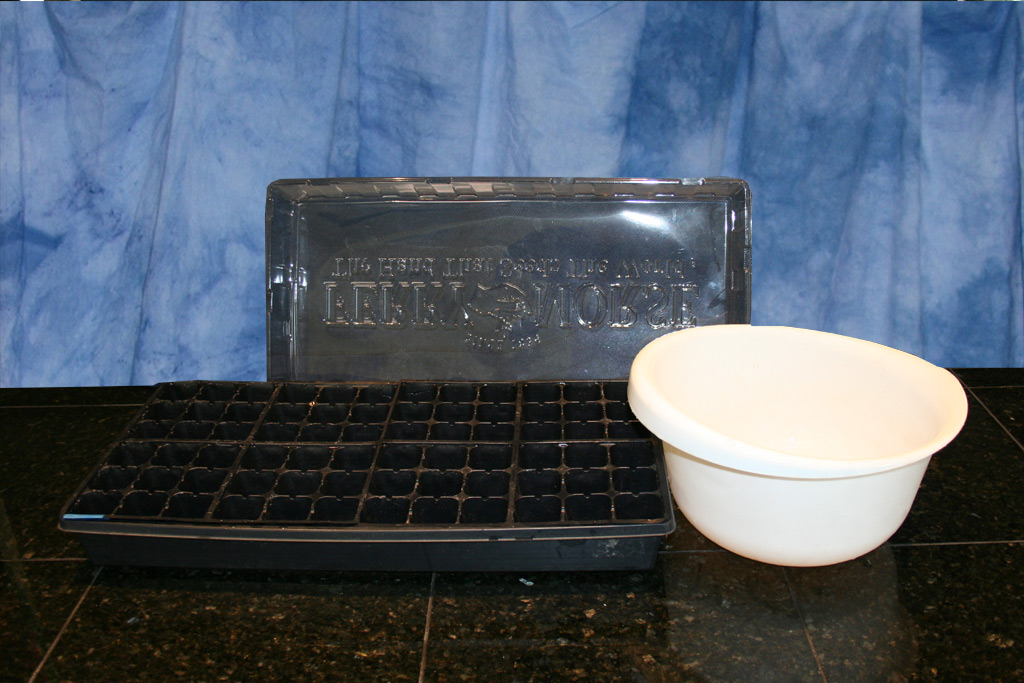
- Large mixing bowl
- Large spoon or trowel
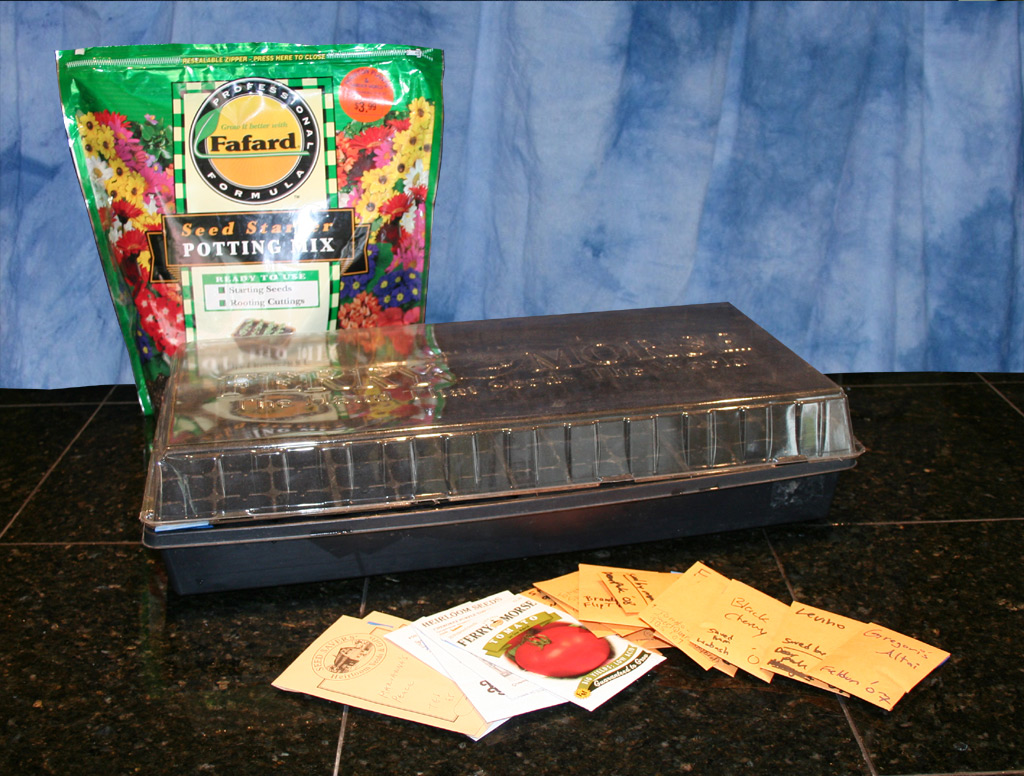
- Seed Starting mix (an 8 quart bag is $5)
- Seed starting tray or plastic pots
- Liquid fertilizer (i.e. Maxicrop or Alaska Fish $6-12)
- One 40W 4′ fluorescent light fixture ($25)
- Full spectrum or warm white 40W 4′ fluorescent bulbs ($5 for two)
1. Make sure your seed starting tray, pots, mixing bowl, and trowel are all clean. If they have been used before, rinse these items with 10% bleach solution to sterilize them.
2a. If you have a misting wand, you may place dry seed starting mix into trays and then mist after you have placed the seeds.
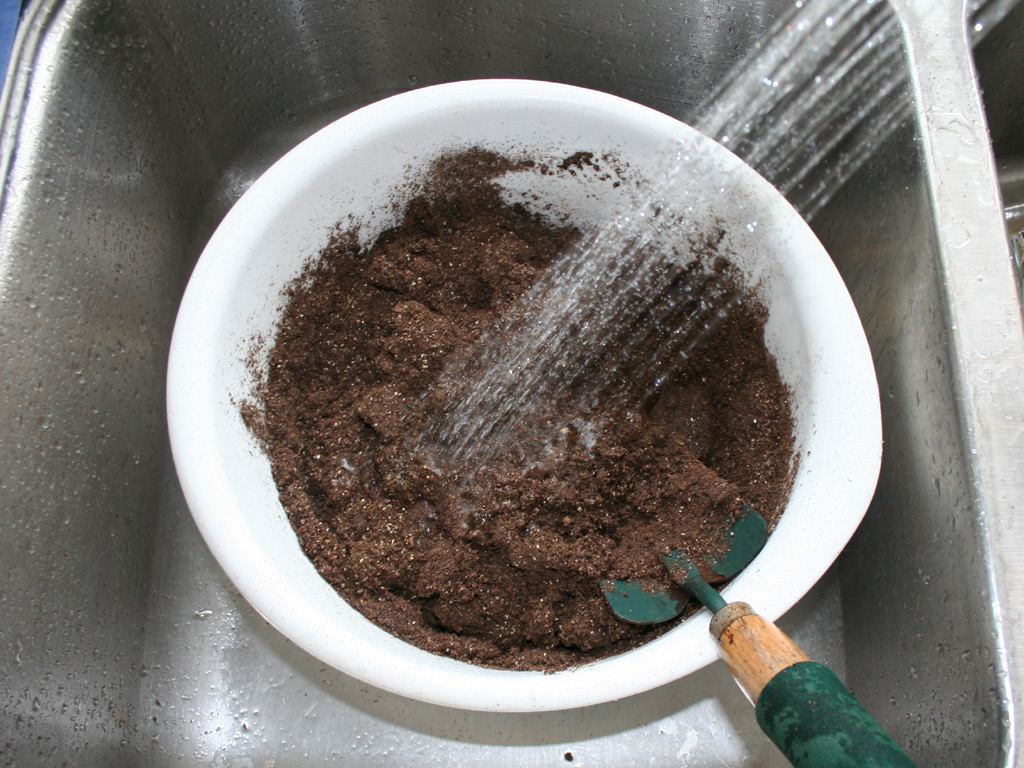
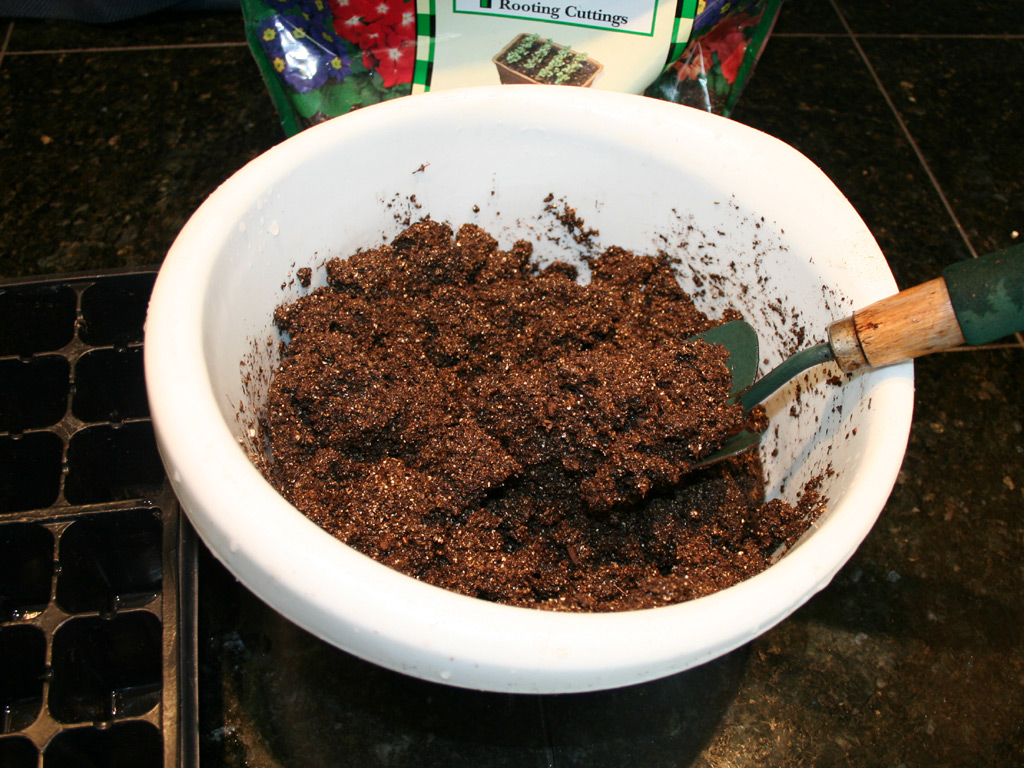
2b. If you do not have a misting wand, you’ll want to go ahead and moisten your seed starting mix in a mixing bowl first. The mix should be damp and clump when squeezed, but not be sopping wet.
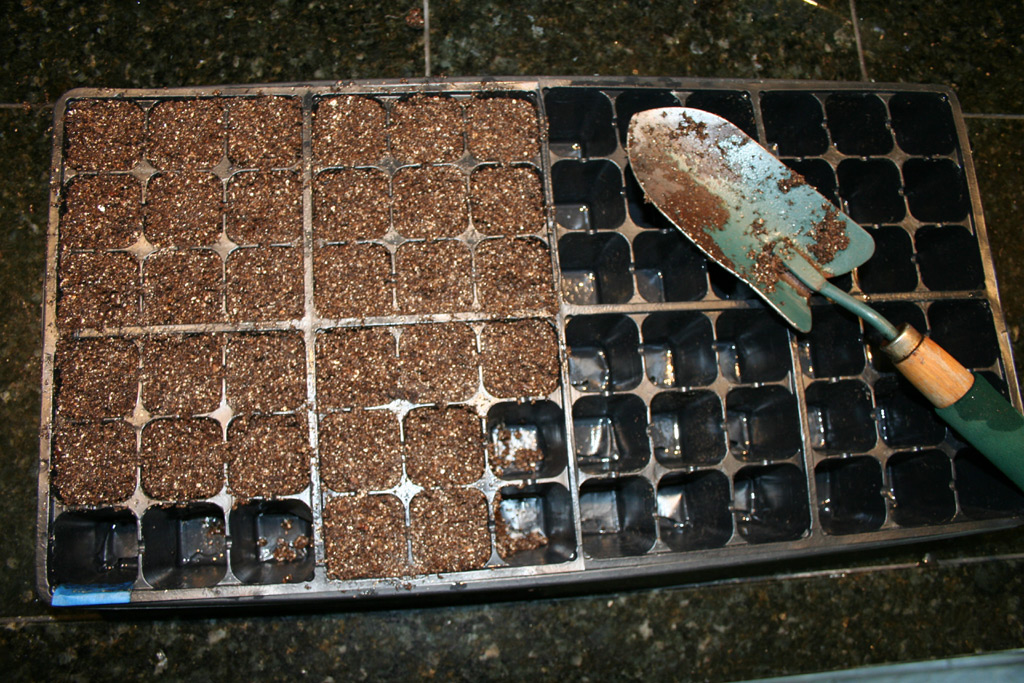
3. Transfer the starting mix out into seed starting tray or pots and loosely smooth the surface with the trowel.

4. Drop tomato seeds onto the surface of the soil and then barely cover with soil. The goal here is to plant seeds no more than 1/4″ deep. Some people use a toothpick or other tool to push each seed slightly under the surface of the soil.
5. Place a clear plastic lid or some loosely tented plastic wrap over the surface of the seed starting trays or pots, then set them in a warm (not hot) place with a temperature from 55-75°F. Plastic cover should not be airtight.
6. When seeds begin to germinate, remove plastic cover and move tray/pots under fluorescent lights at a distance of no more than 1-2 inches from the exposed fluorescent bulbs for 16 hours a day.
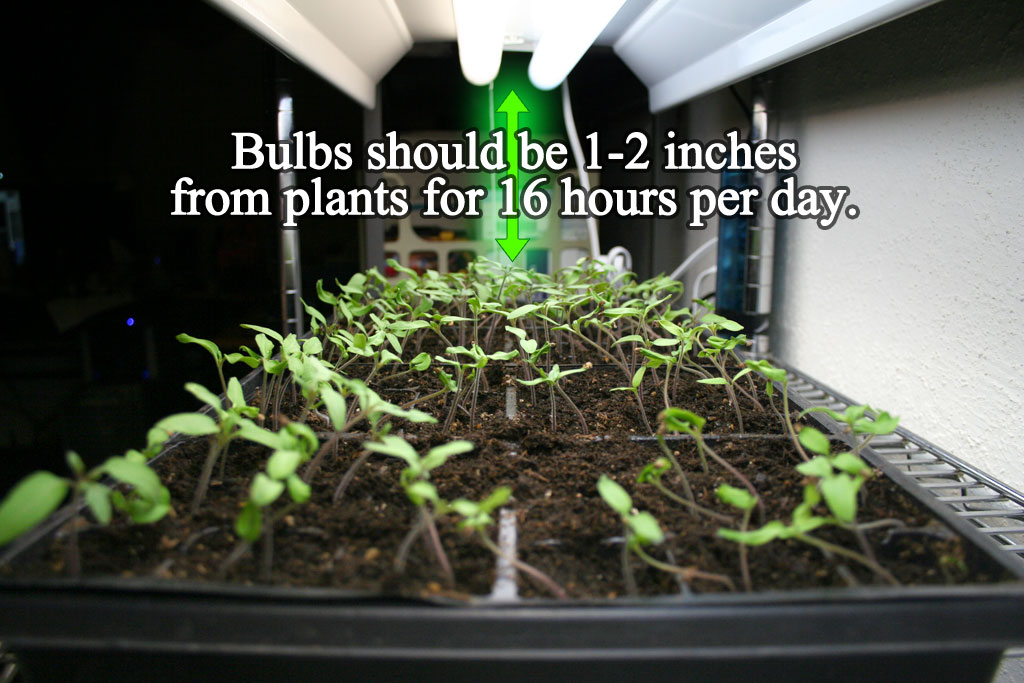

7. Every day, you should raise the lights or lower pots/trays as needed to maintain a maximum distance of 1-2 inches between the tops of your leaves and the light bulbs.

8. When your seedlings have grown their second set of true leaves, apply liquid fertilizer at half strength mixed in a clean chemical-free spray bottle (ie. 1/2 tsp in a 20 oz spray bottle full of water). 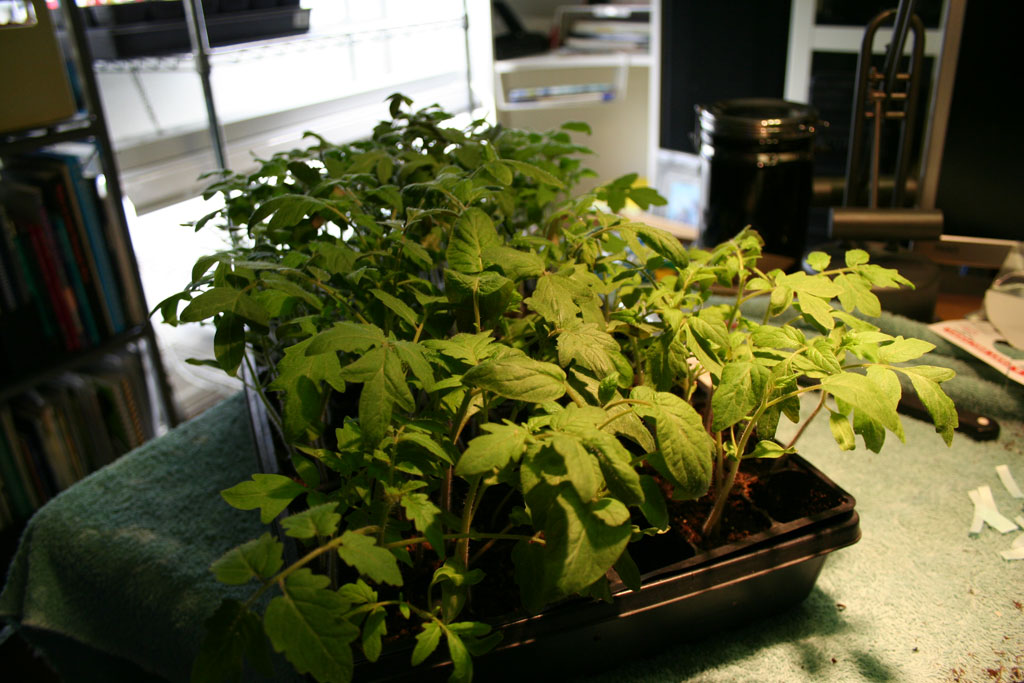
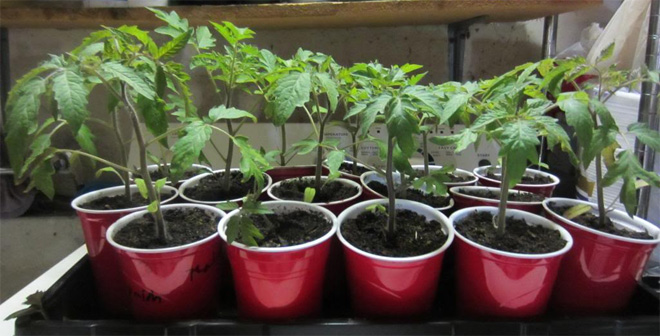
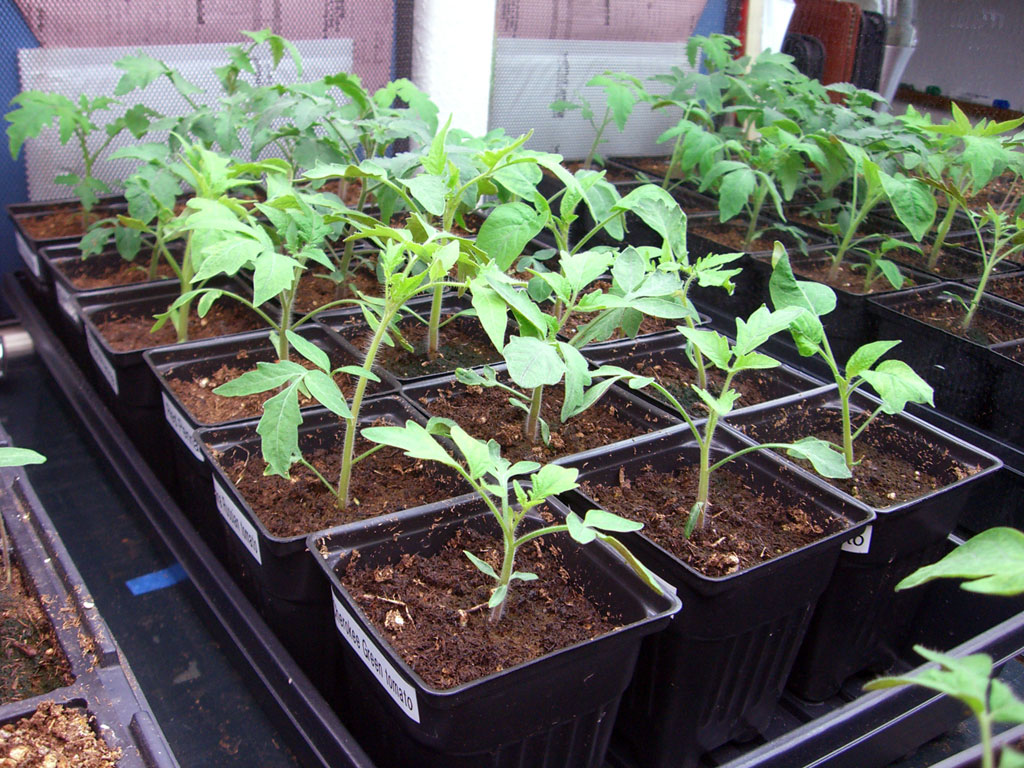
9. If your seedlings are in trays, then you will need to transplant them into 4 inch pots after about 3-4 weeks, or when your seedlings have their third set of true leaves and are approximately 3-5 inches tall.
NOTE: When transplanting, you should retain some extra plants as “backups” in case a frost damages your first planting.
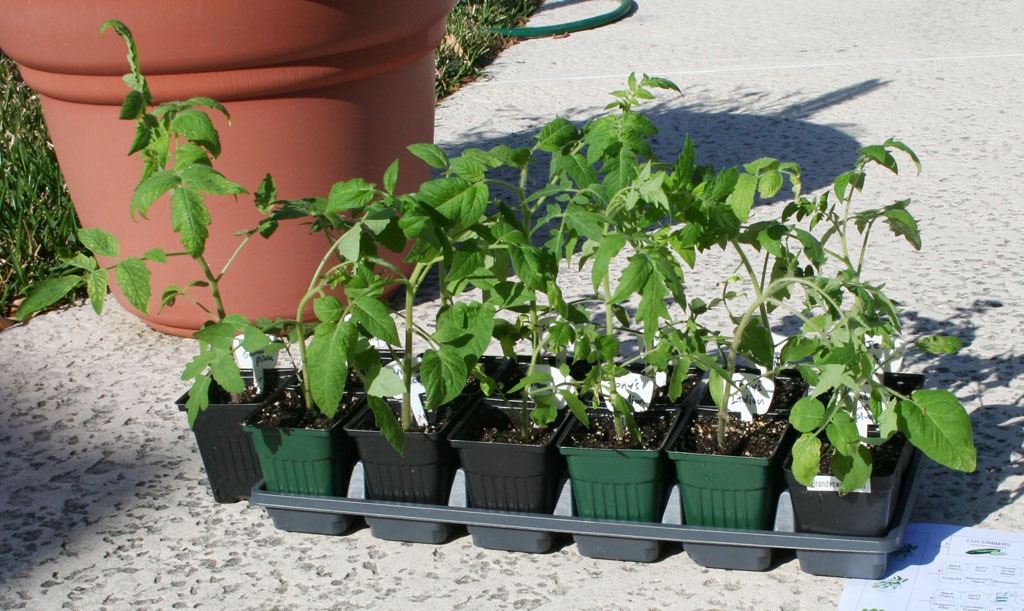
10. Once seedlings are 5-7 weeks old, they should be approximately 8-10″ tall. At this point, it is now 1-2 weeks prior to the scheduled planting time. You should begin “hardening off” your seedlings by gradually exposing them to sunlight, first with full shade, then dappled shade, then a few minutes of sunlight a day, gradually increasing their exposure until on the 7th or 8th day, they are experiencing full sun even in the hottest part of the day (11am-1pm).

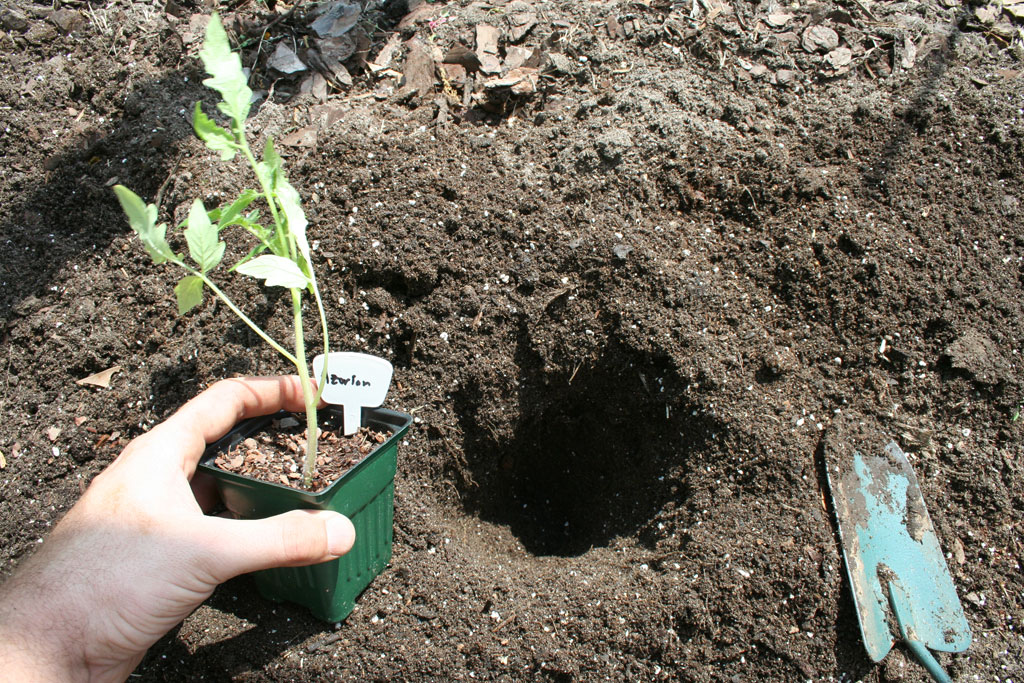
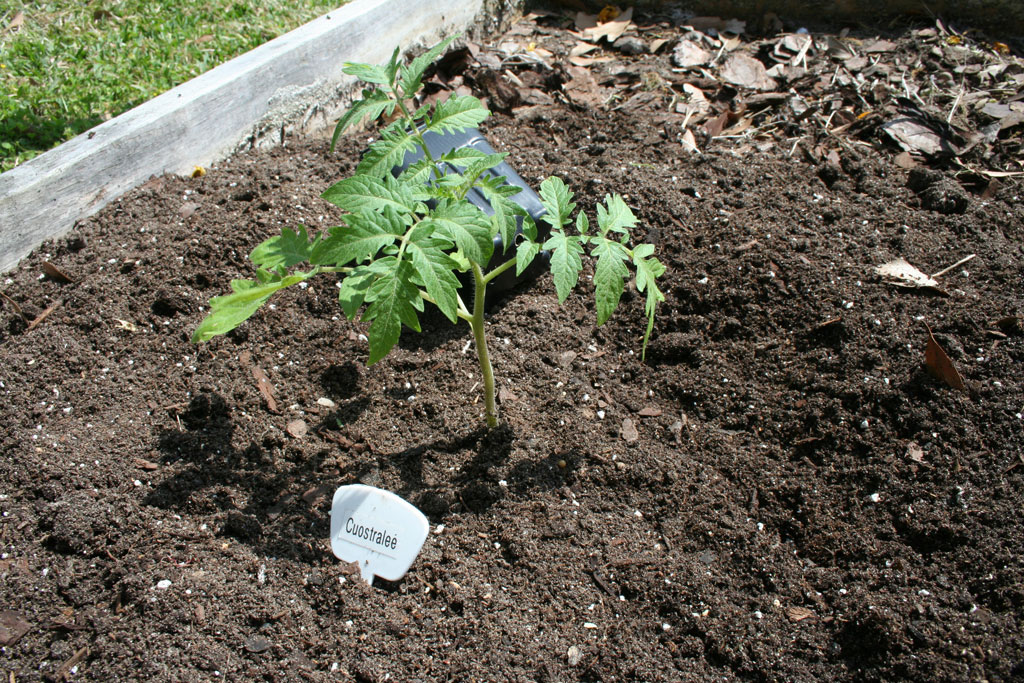
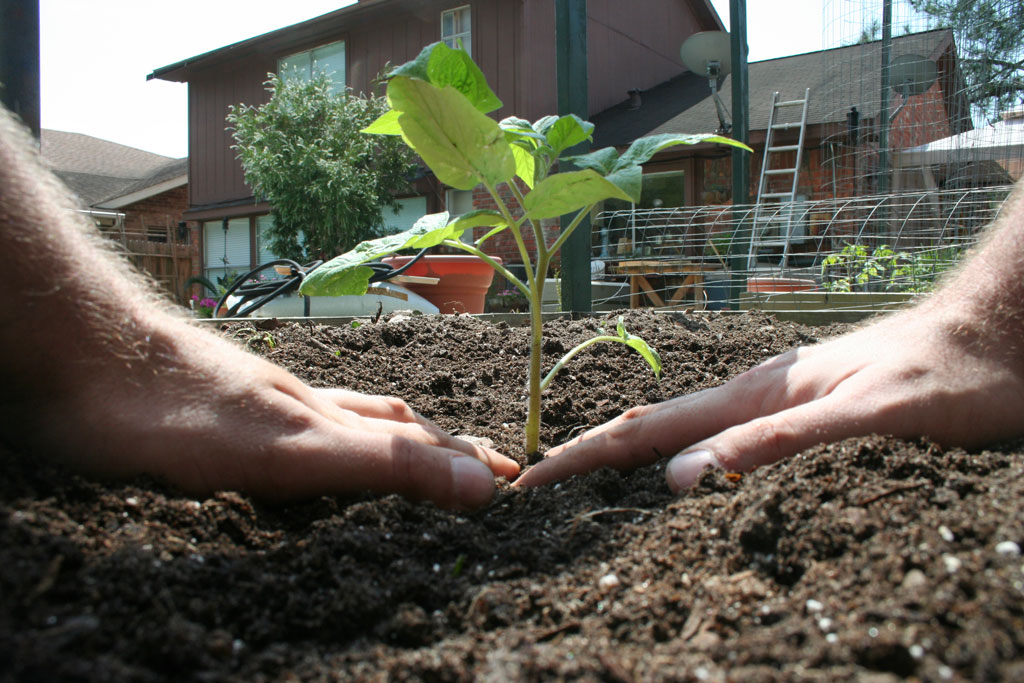
11. When weather forecasts are predicting no upcoming nights below 40°F, transplant tomato seedlings outside into your garden as deep as possible, removing any leaves that will be buried. Preferably, this should take place on a cloudy day, or in the mid-to-late afternoon to allow plants 1 afternoon and evening to acclimate.
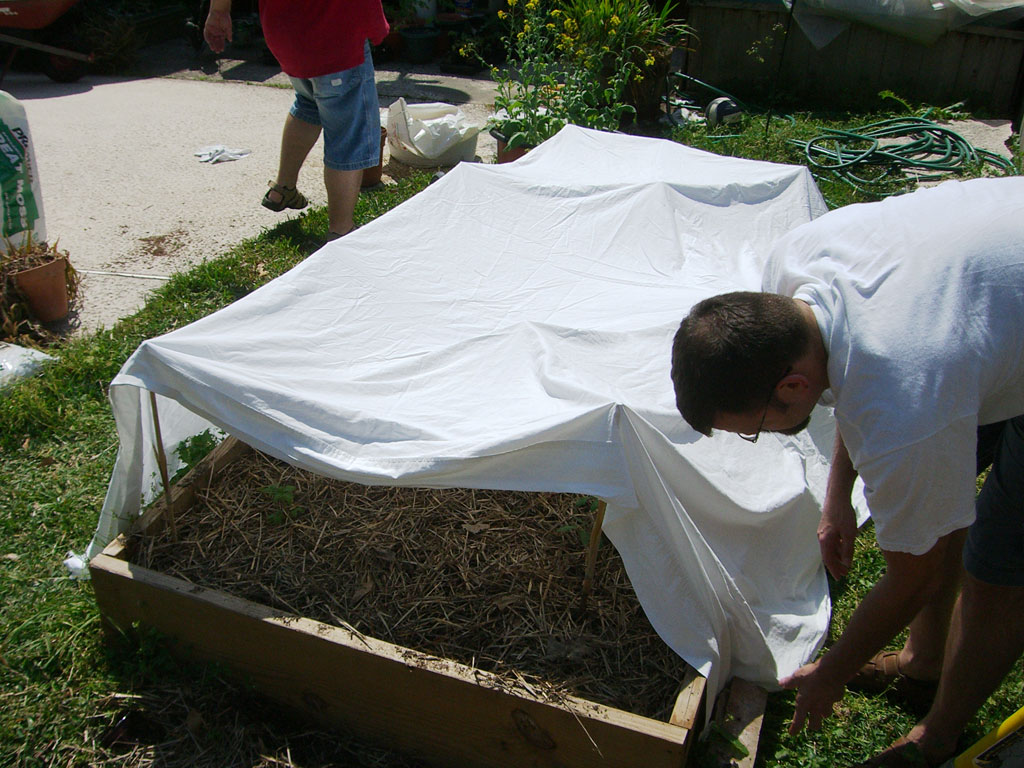
In case of full sun, a sheet or row cover may be draped over sticks, cages, or other framework to shield the plants from full sun for a day or two.
Above, we presented a Quick Start Guide above for those who are already familiar with seed starting or just want a thumbnail idea of the process. Below, we break out each step in greater detail and spell out all the pitfalls and hangups that can spell disaster for even experienced growers!
The Right Soil
When they first germinate, tomato seeds are vulnerable to any bacterial or fungal spores which might be present in your growing medium (soil).
Problem: If shortly after they germinate, your tomato seedlings die, especially with a dark ring just above the soil line, this is damping off and indicates that your soil is somehow contaminated.
Solution: To prevent your seedlings from getting these diseases, seed starting materials should be as sterile as possible.
Seeds should be sown in soil-less seed starting mix which retails for $4~5 for an 8 quart bag which will comfortably fill a 72 cell flat tray or a dozen 4″ pots. You should absolutely not start seeds in garden dirt.
If you have any doubts about your seed starting materials (trays, pots, trowel), sterilize them with a 10% bleach spray and rinse them before use.
If you intend to grow completely organic transplants, then you will need to create your own soil mix from organically-derived peat moss, vermiculite, and perlite. Commercial seed starting mix includes a wetting agent which allows the peat moss to absorb water. If you are creating your own mix, you will need to add 1 tsp of an organic dish soap to 1 gallon of water to encourage the normally hydrophobic peat moss in your mix to accept water.
We recommend pouring your seed starting mix into a large bowl and then pre-moistening it with water until it is just damp, but not sopping wet. Scoop the moist mix into your seed starting trays or pots.
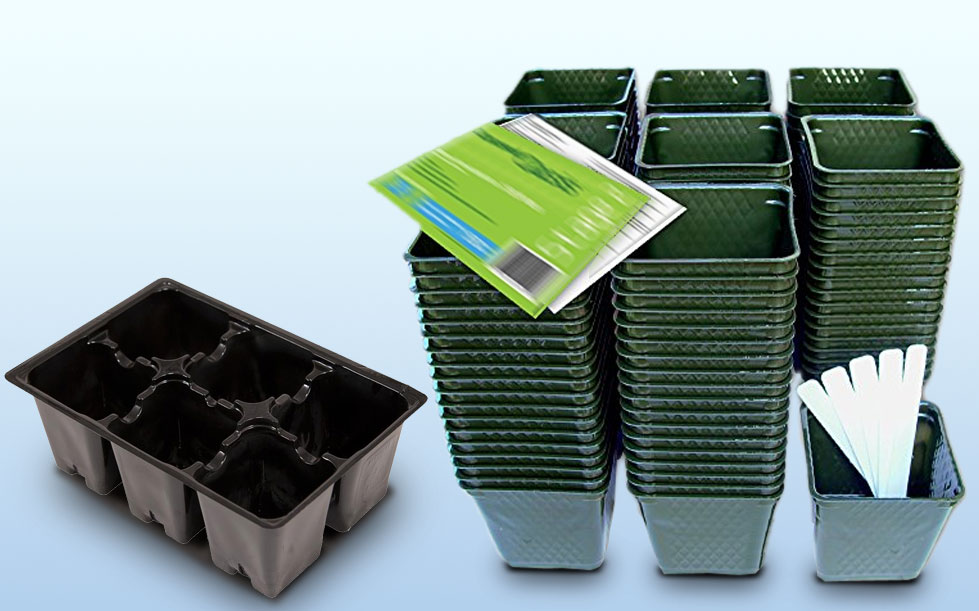
Trays and Pots
Whether you start your tomato seeds in trays (sold in a variety of configurations and sizes) or pots is up to personal preference. You may start your tomato seeds directly in 4″ pots and transplant directly into the garden, or you may start in small cells and “pot up” into 4″ pots as they grow taller.
Ferry-Morse sells good quality seed-starting trays with clear plastic domes. These trays can be cleaned and re-used for many years. To save space, you may plant 2-4 seeds in each cell of a 72 cell seed starting tray. They will need to be separated a few weeks later before the roots intermingle. You can also start directly in 4″ pots and just pick the strongest seedling and cull the rest.
The benefit of starting in a smaller cell and then transplanting or “potting up” into a larger pot is encouraging the initial tap root (which goes straight down to the bottom of the pot) to become a more fibrous root system taking up the whole pot.
We recommend making a map of your seedling tray (including some indication of orientation in case you rotate the tray and forget which end is which!) and labeling the contents. [Downloadable Seedling Maps]
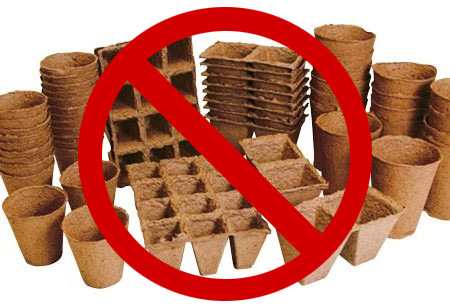
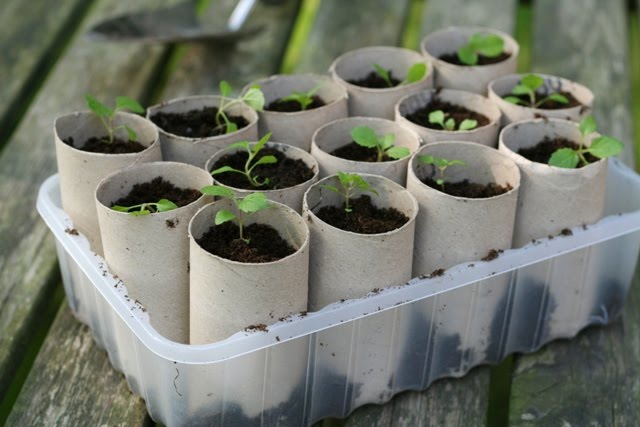
The Trouble with Peat Pots
We have found that the compressed peat of Peat Pots tends to wick water away from tender seedlings, depriving them of water and then growing mold or mildew. Also, peat pots do not degrade nearly as quickly as the advertising suggests. We have heard stories of frustrated gardeners digging up stunted plants only to find that they never broke free of their peat pot prisons.
Problem: Seedlings in peat pots often do not get enough water causing them to wilt, and do not show healthy growth.
Solution: Use plastic containers instead, and reuse them year-to-year. After 5 years I have discarded less than 1% of my pots.
Problem: Seedlings started in peat pots which have been transplanted into the garden fail to thrive and are stunted.
Solution: If you intend to use peat pots, we recommend cutting off the bottom of the pot before transplanting to allow free root growth.
Pre-soaking Seeds?
An entirely optional step in seed starting is to pre-soak your seeds before sowing them. Pre-soaking seeds can increase germination % and seedling vigor.
Problem: I have tomato seeds which are over 6 years old, or am starting later than I planned. How do I increase the chance and speed of germination?
Solution: Pre-soak seeds in a warm tea & fertilizer mixture for 1-12 hours before sowing.
Add a tea bag to a cup of warm water and steep for 5 minutes. Discard the tea bag and add a few drops of Maxicrop liquid seaweed. Arrange several small bowls or cups on a table and add your seeds to each cup. Then add enough of the weak tea to each bowl to moisten the seeds. Soak seeds for anywhere from one to 12 hours. Then sow seeds into moist seed starting mix.
If you have fresh seeds (less than 5 years old), or you are starting seeds for too many varieties for this to be practical, than this step can, of course, be skipped.
A Matter of Depth
Tomato and pepper seeds, especially cherry tomato seeds, seem to germinate with a higher rate of success when sown extremely shallow — merely 1/8 to 1/4 of an inch deep.
Problem: Tomato seeds, especially cherry tomato seeds, fail to germinate.
Cause: Seeds have been sown too deep.
Solution: Sow tomato seeds extremely shallow.
If you are concerned that you may plant your seeds too deep, then simply drop the seeds on top of the soil and use a small tool such as a toothpick to move a few strands of the peat moss mix over the seeds. Another solution is to drop seeds on top of the moist soil, sprinkle a small amount of dry soilless seed starting mix on top and then mist the surface with a sterilized water bottle until damp.
Tomato seeds germinate at different rates. Cherry tomatoes can be especially precocious. Pepper seeds meanwhile prefer to germinate about 10 degrees warmer than tomato plants (ideally 85 F degrees). If you are lucky enough to have a seedling heat mat, then you can start both pepper and tomato seeds at the same time. Otherwise, we recommend starting your pepper seeds 2-3 weeks before you start your tomato plants as they will need the additional time to come out of hibernation.
How Much Water?
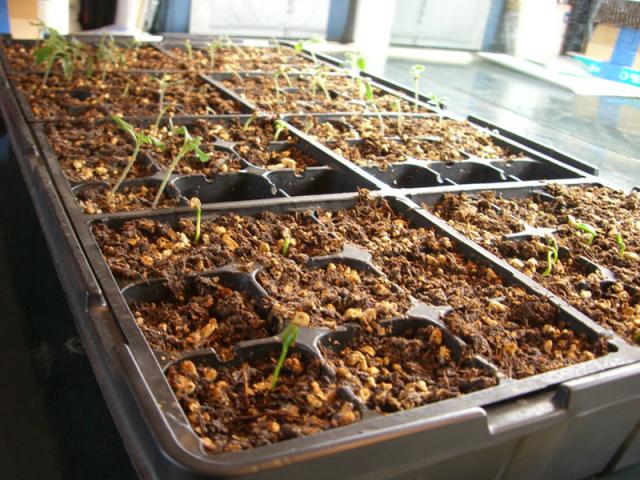
Once you’ve got your seeds planted, your biggest challenge may be resisting the temptation to overwater. We recommend not watering the soil again until the seedlings are 1-2 inches tall and have used up most of the water in the soil. This is typically 5-7 days after germination. There will be a noticeable lightening of the surface of the soil as it dries out. Also, the seed starting trays and/or pots will lose weight.
Don’t let your seedlings dry out either. If seedlings start to wilt, you should water them immediately.
When adding water to trays, we generally prefer “bottom watering“, or lifting the corner of the tray insert and adding water to the tray underneath. This way, tender young seedlings are not disturbed by the added water.
Some minor growth of green moss on the surface of your seed starting trays is normal, but this may be a symptom that you have been overdoing it on the watering.
Get Your Light On
The human eye has a remarkable ability to allow us to see comfortably from the light of just a few candles, to the full intensity of the sun.
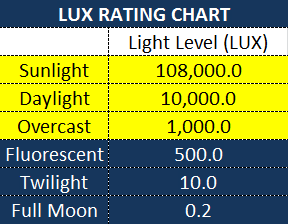
Brightness is not just a function of the intensity of the light, but also the distance from the light. For this reason, trying to grow seeds on a windowsill or 6-8 inches from a fluorescent light is not much better than providing no supplemental light at all. Check out this table of different light sources and see the dramatic difference in light output:
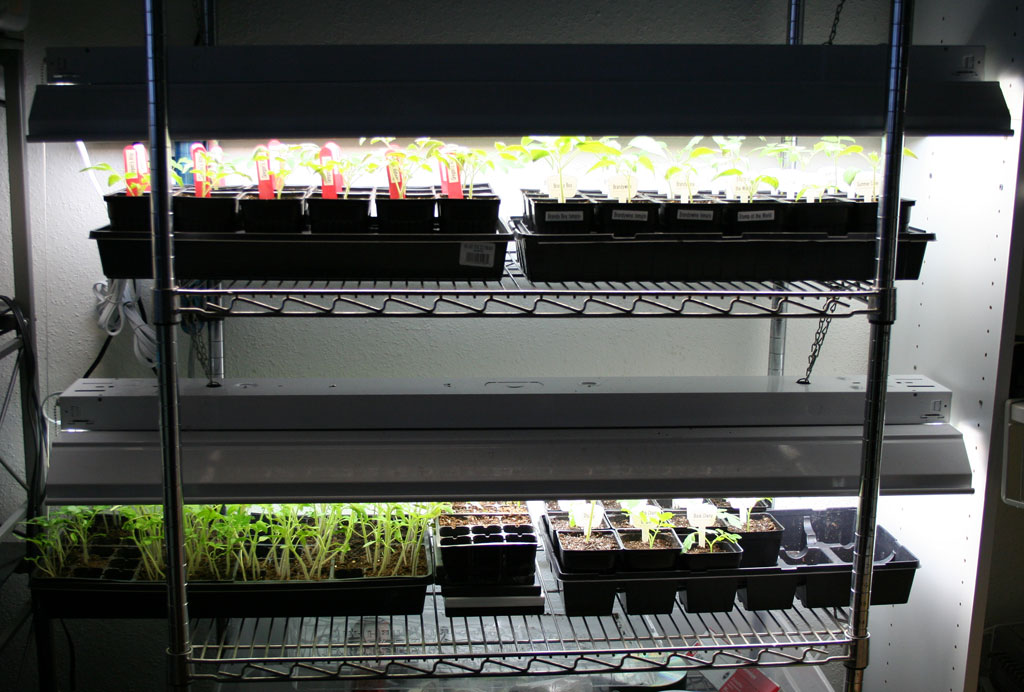
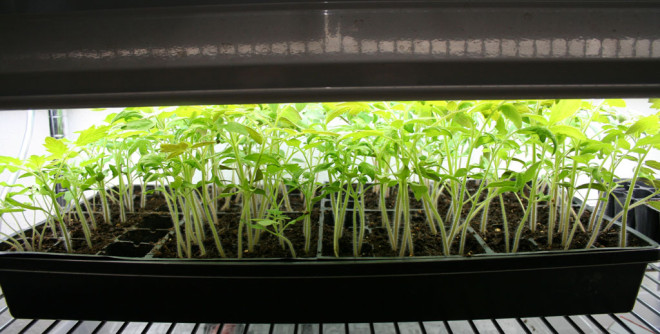
We recommend growing your seedlings under a fluorescent light fixture which accommodates two 48″ 32W or 40W bulbs. These typically run $20-30 at Home Depot and Lowe’s. Given a choice, you should buy a light fixture with the widest metal reflector available so as to distribute the light over the entire width of the tray. The $15 lights at Wal-Mart are of poor quality, so we do not recommend them.
Problem: Tomato seedlings are growing “leggy” and thin, or bending towards a window in search of light.
Solution: Fluorescent light intensity falls off dramatically over a distance of just a few inches. Place fluorescent lights no more than 1-2 inches from top of seedling leaves for 16 hours per day.
We recommend raising and lowering either your lights or seedling trays/pots such that the top leaves of your seedlings remain no more than 1-2 inches from the bulbs. Use chains to raise and lower the lights, or use old books, DVD cases, etc. to raise and lower plants. There is no risk of plants being burned if they touch the bulbs as lights are only slightly warm to the touch.
We recommend running these lights on a timer for 16 hours a day, but if you will be away for a weekend, seedlings can be grown under 24 hour light for a few days without ill effects.
If full spectrum fluorescent light bulbs are available in your area, by all means buy them in either 40W or 32W intensities. Otherwise, to provide a full spectrum of color, we use one cool white bulb (approximately $4) and one Daylight warm/natural light bulb (approximately $6).
NOTE: Fluorescent bulbs show a marked drop-off in light output after 2 years, so we recommend replacing them on this interval. There is no need to purchase expensive Aquarium, Terrarium, Deluxe, or Plant Growth lights.
A recent development in seed starting involves High Pressure Sodium and Metal Halide lights. These can produce in excess of 400 W of light. With the use of reflective mylar (the shiny material which party balloons are made of) and with the lights 3-4 feet above the plants, a very large number of plants can be grown. If there is interest in this subject, we can expand on it in a separate article.
It’s a Breeze
Use an oscillating fan to provide a gentle breeze over your seedlings for several hours per day. This will encourage them to grow thicker stems and overall stockier plants.
Problem: Tomato seedlings are not growing thick stems.
Solution: Although commercial greenhouses use chemical growth inhibitor sprays which encourage seedlings to grow thick, stocky stems, and also grow seedlings at low temperatures (50-60°F), you can mimic some of this by using an oscillating fan to encourage thicker stems on your plants.
NOTE: Many major retailers do not carry oscillating fans in December-February as they are a seasonal item.
Fertilizing Your Seedlings
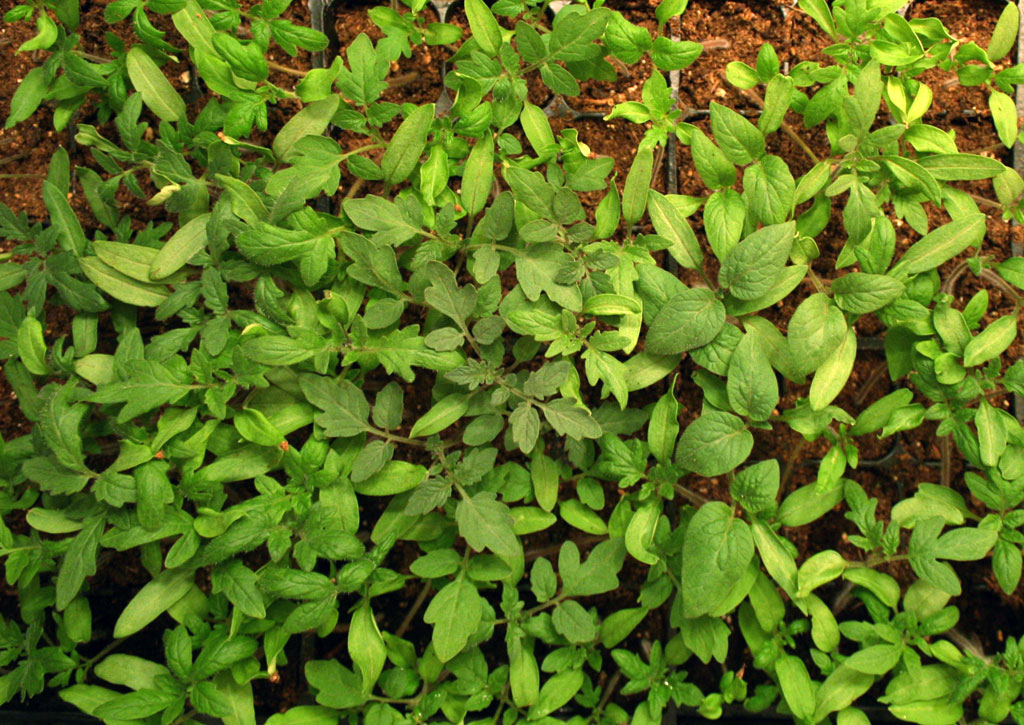
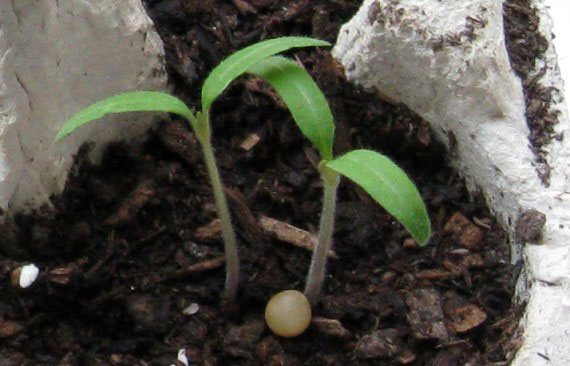
Emerging tomato seedlings will first show two slender rounded leaves called cotyledons. Sometimes these are attached to the coat of the seed they germinated from. You may use a moist Q-Tip or gingerly apply a pinching movement with your fingers to rescue your seedlings from these stubborn seed coats.
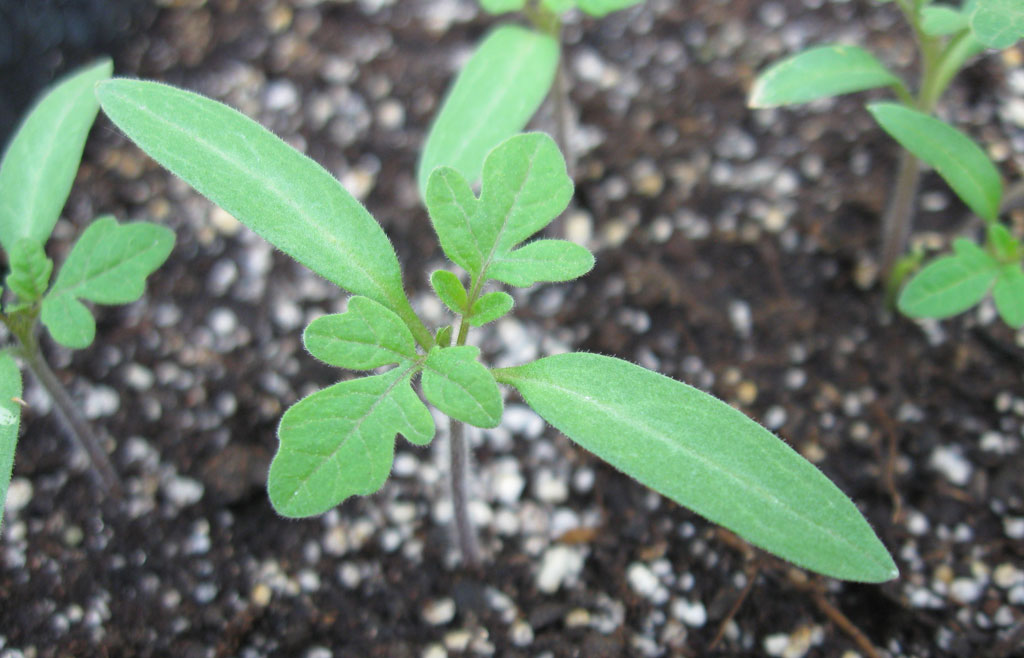
The next set of leaves are the “true” leaves so-called because the type of leaf is “true” to what your tomato plants will eventually have. Each tomato variety has leaves which are slightly different.
Until you see a second set of true leaves start to emerge (seedlings will typically be 3-4″ tall at this point), it should not be necessary to apply any type of fertilizer. We recommend preparing Maxicrop seaweed/kelp emulsion or fish emulsion at half their normal strength (1/2 tsp per 20 oz) in a completely clean spray bottle which is free of any chemical residues.
Unless you intend to grow your seedlings beyond the typical 6-8 week timeline (producing 8-10″ tall seedlings), this should be the last fertilization your seedlings need until they are ready to be transplanted into the ground.
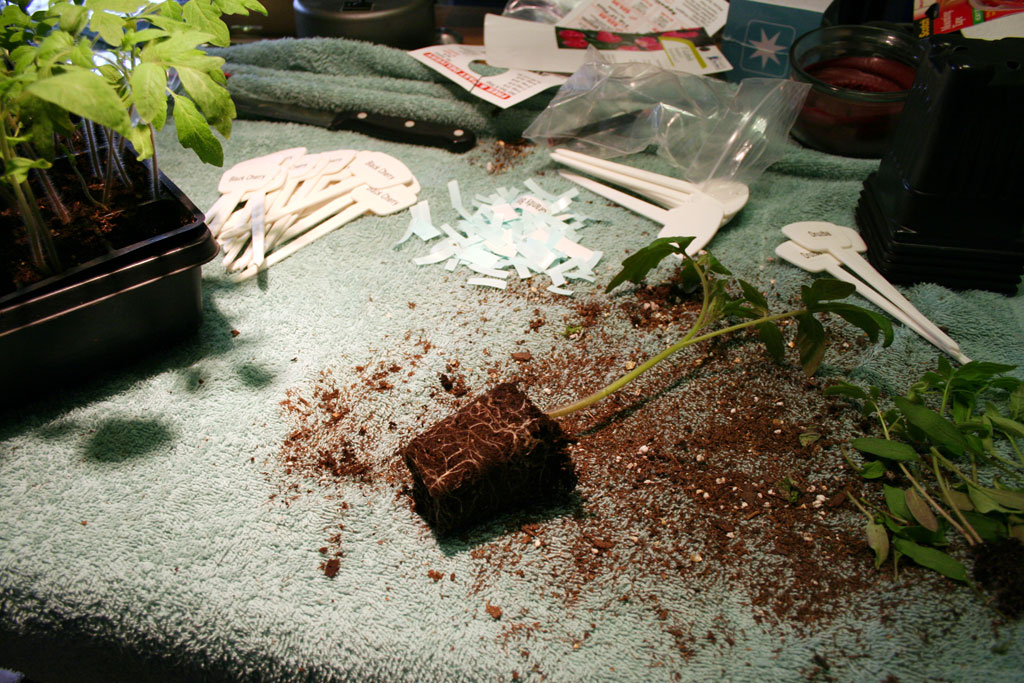
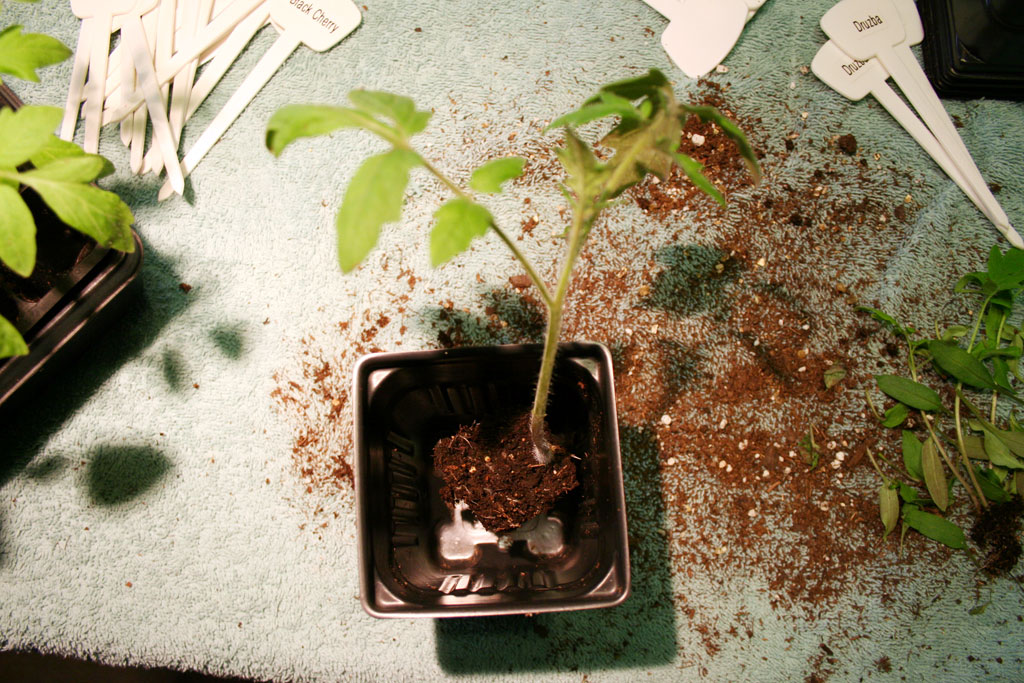
Potting Up (Transplanting)
If you started your seeds in trays, then you will need to transplant up to 4″ pots when the plants have reached a suitable size, typically 3-5″ tall and with their third set of true leaves. Your seed starting tray should be well-watered about 30 minutes before transplanting. Tomato plants are very resilient and if they’ve had a good drink of water, they’ll stand up well to the transplant process.
Tomato plant stems have many fine hairs which have the remarkable ability to become roots if buried. Take advantage of this by transplanting your tomato seedlings as deep as you can. We recommend picking off any leaves that will be buried in the soil by this process. If the seedling is not tall enough to have leaves above the surface of the soil, then add some soil to the bottom of the pot prior to transplant.
Hardening Off
Seedlings started under artificial light must slowly become acclimated to sunlight before they can be transplanted into the garden. The midday hours of 11am-2pm are the most likely to damage tender plants due to the sun’s intensity, so exposure should be avoided until plants have been suitably prepared.
1 – 1 1/2 weeks before planting, your seedlings can be moved outdoors into full shade for 1-2 days and then gradually provided with dappled or direct sunlight on a gradually increasing duration. If evening temperatures are predicted to fall below 45 degrees or high winds are predicted, move seedlings indoors. Hardening off times can be doubled on cloudy days. Here is a general hardening off itinerary:
- Day 1 — Full Shade
- Day 2 — 10 minutes of morning sun.
- Day 3 — 15 minutes of morning sun. 10 minutes of afternoon sun.
- Day 4 — 45 minutes of morning sun. 30 minutes of afternoon sun.
- Day 5 — 1 1/2 hours of morning sun. 1 hour of afternoon sun.
- Day 6 — 3 hours of morning sun. 2 hours of afternoon sun.
- Day 7 — 4 hours of morning sun. 3 hours of afternoon sun.
- Day 8 — Ready to plant.
We realize that many folks cannot do the type of “babying” described above. There are several methods of unattended hardening off, including placing some type of protection, such as a lawn chair, inverted laundry basket, or lumber supported by bricks or five gallon buckets directly over the plants that will allow morning and afternoon sun to reach the plants, but block the searing midday sun until your plants are ready for it.
A solution of kaolin clay powder (marketed as Surround) mixed with water may be sprayed onto plants to provide a protective physical “shell” to reduce sunlight exposure. This sunblock would need to be reapplied in case of rain. Seedlings may also be placed outside under a 50% shade cloth if you have a means to support this cloth over the plants. At the very least, tomato seedlings should be exposed to dappled shade as much as possible leading up to transplant.
Plants which have not been hardened off will exhibit foliage damage 1-2 days after exposure. A characteristic dessication of the leaves from improper hardening off (tan smooth spots where the leaf has dried out and become paper-thin) can stunt or kill seedlings.
Going Outdoors
Tender seedlings are vulnerable to insect pests such as flea beetles and leaf miners. Flea beetles leave behind tiny holes in the leaves. Leaf miners leave zigzagging tracks in the leaves of the seedlings. In both cases, there is no point in spraying the plants with insecticides as the insects which caused the damage are gone by the time you find evidence.
Preemptively spraying plants with Surround or dusting the plants with Sevin (carbaryl) when they are first set out will protect them from most opportunistic insects.
When to Plant?
The most common question about growing tomatoes in South East Texas is when to plant.
If we wait until all danger of frost has passed (mid-April), then we will get very few tomatoes, especially from late season varieties (most heirlooms). So we must plant out large, healthy transplants in early- to mid-March and be willing to protect our plants from the occasional cold temperatures.
Most of your tomato fruitset will typically occur in late March (if you were able to get your plants out early), April, and early May. By late May to early June, evening temperatures are no longer dipping below 70. The high humidity and “muggy” conditions” inhibit your tomato plants from setting fruit. Daytime temperatures in the low 90’s also denature the pollen in tomato blossoms, putting an end to any further tomato fruitset.
It is really imperative to get plants out as early as possible and be willing to protect said plants with row cover and other measures. Waiting until April is not an option!
Don’t Trust the Weatherman!

The High and Low temperatures provided by many television newscasts, newspapers, and websites can be very misleading. They do not always indicate the highest and lowest temperature per day, but instead estimate the temperatures at midnight and noon. The coldest time of day is typically 6 AM.
We strongly recommend consulting the National Weather Service, or Weather Underground to get hour-by-hour predictions of expected temperatures for your area (ZIP code). Weather Underground is usually pessimistic (they always low-ball evening temperatures) which makes it an especially valuable website for farmers and gardeners. Both sites also provide Hour-by-Hour temperature predictions which can be helpful to know if plants will be exposed to only a brief dip or experience a prolonged exposure to cold temperatures.
NOTE: Seedlings that are still in containers or pots should be brought indoors if evening temperatures are predicted to go below 45°F or if high winds are expected.
We recommend planting tomato seedlings outdoors when overnight temperatures are forecast to remain above 40°F for the next 5 days. After planting your tomatoes outside, we recommend consulting a trusted weather website daily until mid-April. For the last 5 years, we have had at least one unexpectedly cold night (below 40°F) in early to mid- April.
In the event of a predicted frost (below 38°F), immediately install row cover, blankets, walls of water, or tarps during the day to trap as much heat as possible. Clear plastic or plastic tarps may be used but should not be allowed to touch plants as they will burn/damage the plants when the cold sets in.
If you have too many plants to protect using the above methods, then constant misting with water from a hose or use of sprinklers has been shown to keep plants from succumbing to frost damage as low as 33°F. City and well water are typically over 40°F and so will provide a temporary “temperature blanket” effect. This solution will increase the amount of fungal problems during the season (specifically early blight), but it is worth it if your plants can be saved.
If plants are lost due to cold, you will be dependent upon your own “backups” (you did grow 2 of every plant, right?) or, as a last resort, the last remaining tomato plants marked on clearance at the local nurseries.
Planting Dates
Exact planting dates change from year-to-year, because weather is so variable. However you cannot wait until the risk of frost is gone. We recommend that you start watching the weather and plan towards certain dates, but always be prepared to delay.
We’ve got a separate article on Tomato Growing Timeline & Gardening Calendars.
This sounds complicated! Can I buy plants?
If you have reached this point of the article and the idea of starting your own tomato seeds sounds daunting, or the calendar on the wall indicates that it’s already February, you’ll be surprised to know that there are excellent nurseries in the major southeast Texas cities and surroundings which carry a wide variety of healthy plants. Although I start my own seeds every year, inevitably I do buy a few plants at local nurseries to support local business. Sometimes they have a great variety I hadn’t thought of. You can safely assume that plants from local nurseries have already been hardened off and are ready for transplant.
Houston – Inside Beltway 8: Wabash Antiques, Another Place in Time, Southwest Fertilizer and Buchanan’s Native Plants all have an excellent array of tomato and pepper varieties.
Houston – Outside of Beltway 8: RCW Nurseries is starting to carry a good selection of herb and vegetable plants. Cornelius Nurseries, Houston Plants & Garden World and Houston Garden Centers all carry the ubiquitous Chef Jeff’s line of tomato and pepper plants which have some good choices.
Austin: Bloomer’s in Elgin, TX has a good selection of well-grown transplants beyond the usual box store hybrids. The Natural Gardener in Austin is also worth checking out.
San Antonio: We are currently inquiring about the best nurseries in San Antonio.
Dallas/Ft. Worth: Calloway’s Nurseries has nearly 20 locations in and around Dallas, Fort Worth, and Plano. We have not investigated, but presumably they have the Chef Jeff’s line of plants which have some good choices.
Revised: 2010.08.23, 2011.01.13, 2011.02.21, 2014.05.15, 2016.02.21