

Tomato seeds are surrounded by a gel which contains a natural germination inhibitor. Properly processing and preserving tomato seeds starts with removing this gel, then drying the seeds, and lastly storing them in a suitable container.
At one time, the only method for cleaning tomato seeds was fermentation. However we have found this technique to be unpredictable and time-sensitive, not to mention the undesirable odors and repulsive molds and fungus that grow during the process.
We have found a more predictable, tidy approach involving Oxiclean washing powder. Seeds can be cleaned in 30 minutes, which is invaluable if seeds must be saved before a vacation, or large batches must be processed at once. In the seed preservation industry, a similar process substituting the chemical cleaner Tri-Sodium Phosphate is used instead.
If you treat tomato seeds properly, they can be stored for 5-10 years and still show a high germination rate.
Fermentation
The classic method of saving seeds is to leave them out in a plastic container for a few days until they start to ferment. The tomato solids produce a strong smell and sometimes develop a “fungus mat” during this process. Because of the unpleasant aroma, some people have been driven to ferment their seeds outside. But because 100 degree temperatures are typical for S.E. Texas — a temperature that can “cook” tomato seeds — we have found fermentation to not be the most preferable technique.
Fermentation is also unpredictable. You never know how long it’s going to take for the seeds to separate from the tomato solids. If you’re going on a trip or out of town for the weekend, you might come back to dried out, useless seeds.
Can I Save Seed from Hybrids?
Tomato seeds grown from open pollinated varieties will always produce the same variety from year to year provided there has been no inadvertent cross-pollination by insects. Seeds from hybrid tomato varieties are likely to produce many different offspring with variations in fruit size, color, and flavor.
Unless you are willing to take your chances and experiment with the results, seeds should only be saved from open pollinated varieties (eg, heirlooms). Seeds saved from hybrids and crosses may not be true-to-type. If you are considering saving seeds from tomatoes found at the grocery store, realize that most are grown from hybrids (F1) and thus there is a high probability that you will not get the same tomato when you save seeds and grow them.
Seeds should be saved from tomatoes which are noticeably ripe. If possible, avoid saving seeds from deformed or “catfaced” tomatoes as they may have resulted from a fused blossom. Since a fused blossom is usually a much larger flower than the typical tomato blossom, there is a higher likelihood it attracted bees or other pollinators. The seeds you save might be cross-pollinated from another tomato and yield unexpected results.
Seed Saving Step-by-Step
Note: Make sure your work surface, utensils, cups, strainer, and fingernails are clean and free of any stray seeds before and after each seed saving session.
Hint: It is helpful to get a paper plate ready by writing the variety name on it with a permanent marker before you begin. It’s easy to walk away and forget what variety you saved seeds from! Don’t write with a gel or regular ink pen as the moisture from drying seeds will obscure your writing.
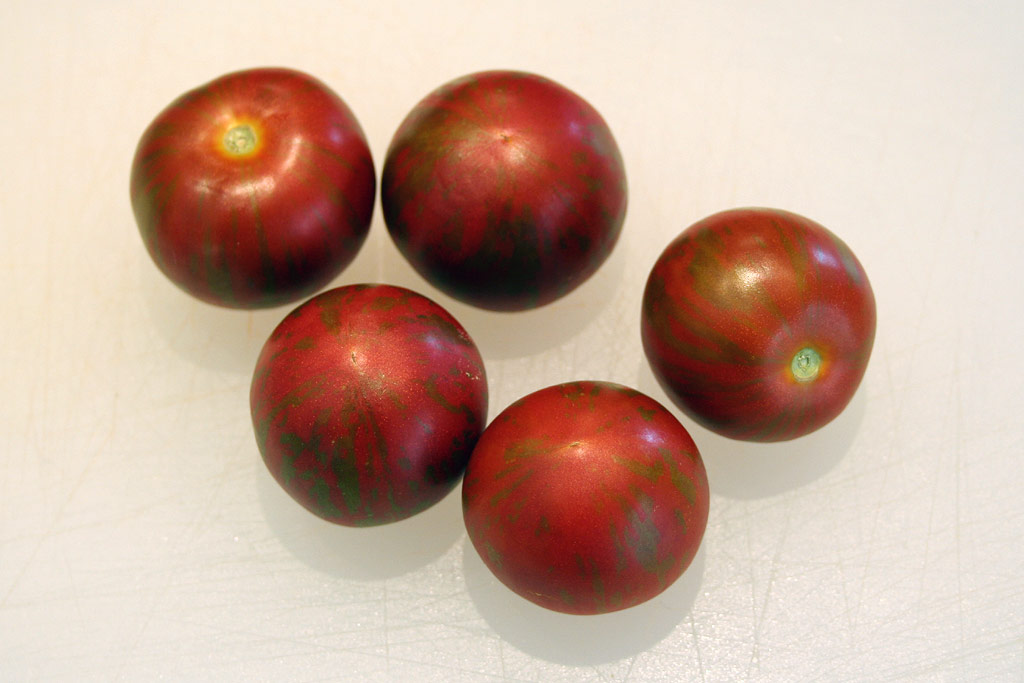
1. Select ripe tomatoes of one variety to save seeds from.
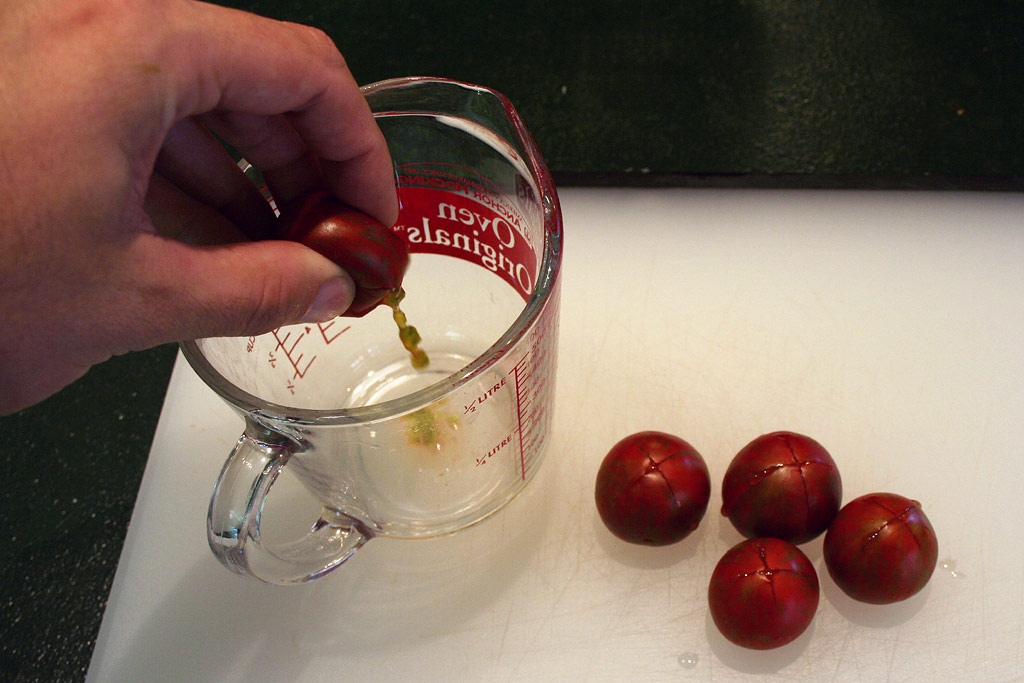
2. Cut a hole or X on the bottom of each tomato and squeeze the juice and seeds into a measuring cup.
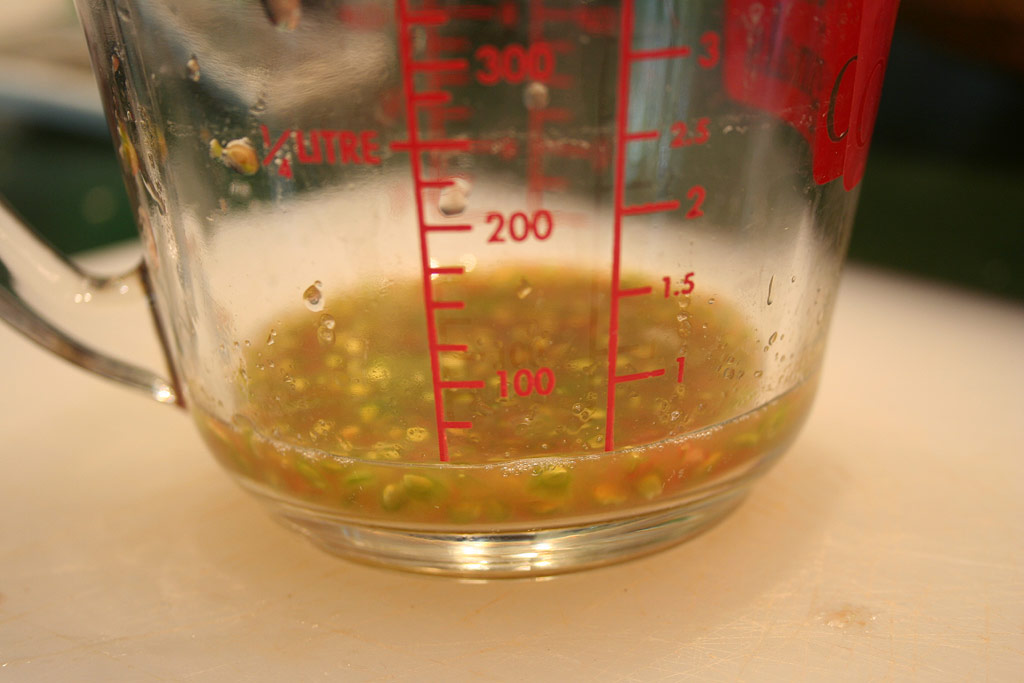

3. If the seeds and juice from the tomato are less than 1 cup, add water to make 1 cup.
4. Add 1 tablespoon of Oxiclean washing powder for each cup of tomato seeds/pulp/water.
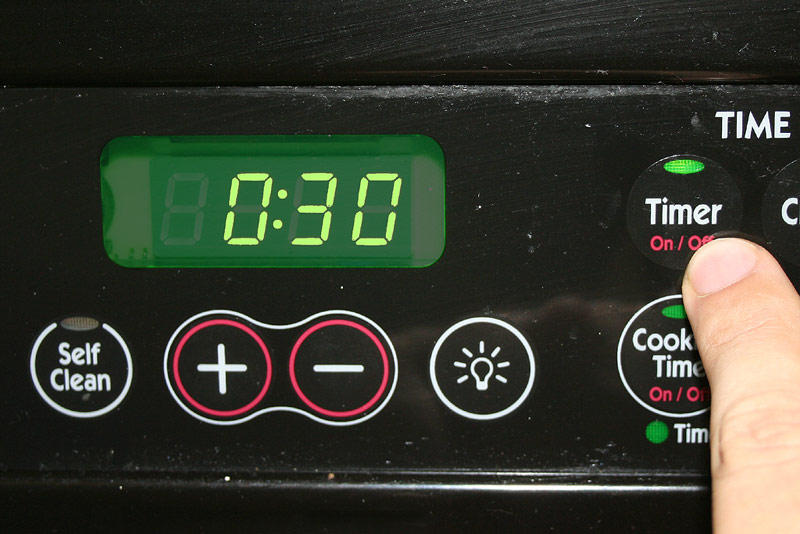
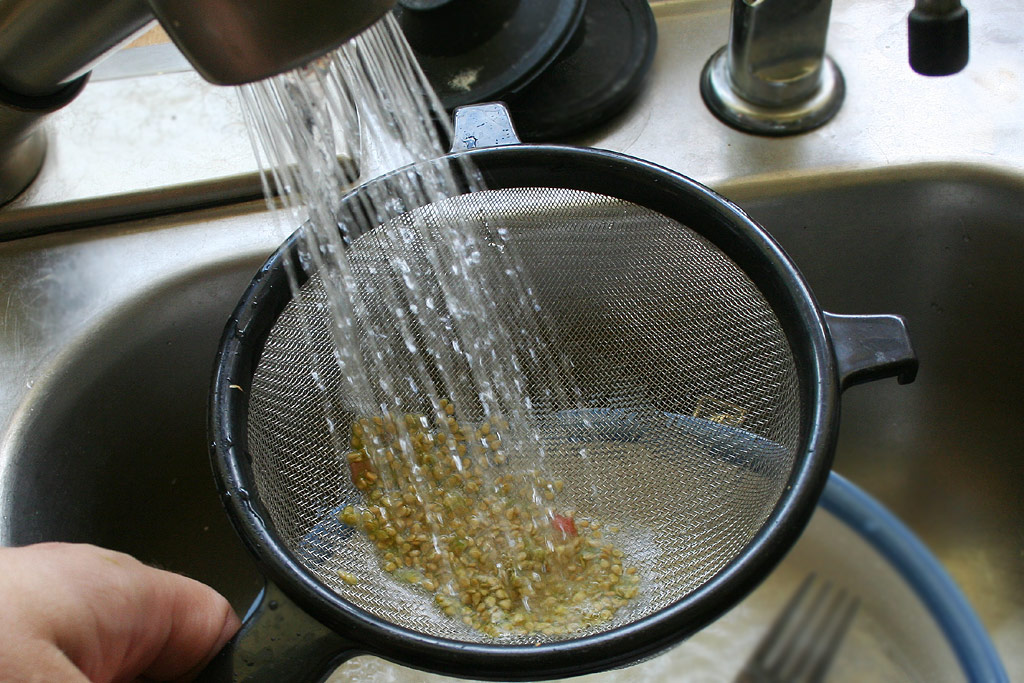
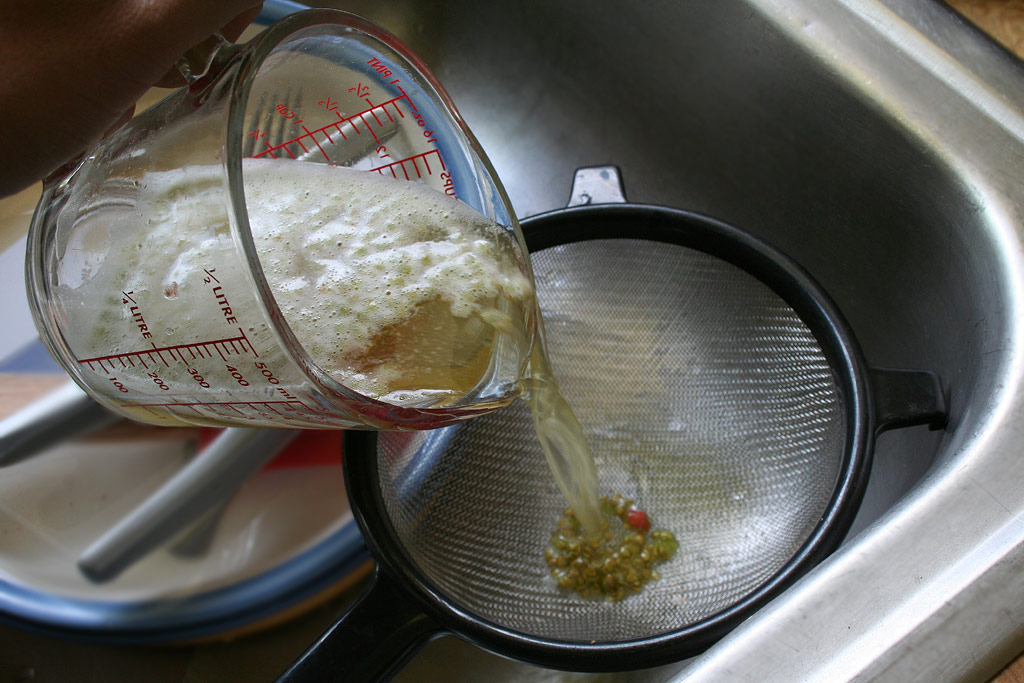
5. After 30 minutes, stir, then pour seeds through a fine mesh strainer.
6. Rinse off seeds until they no longer feel “slippery”.

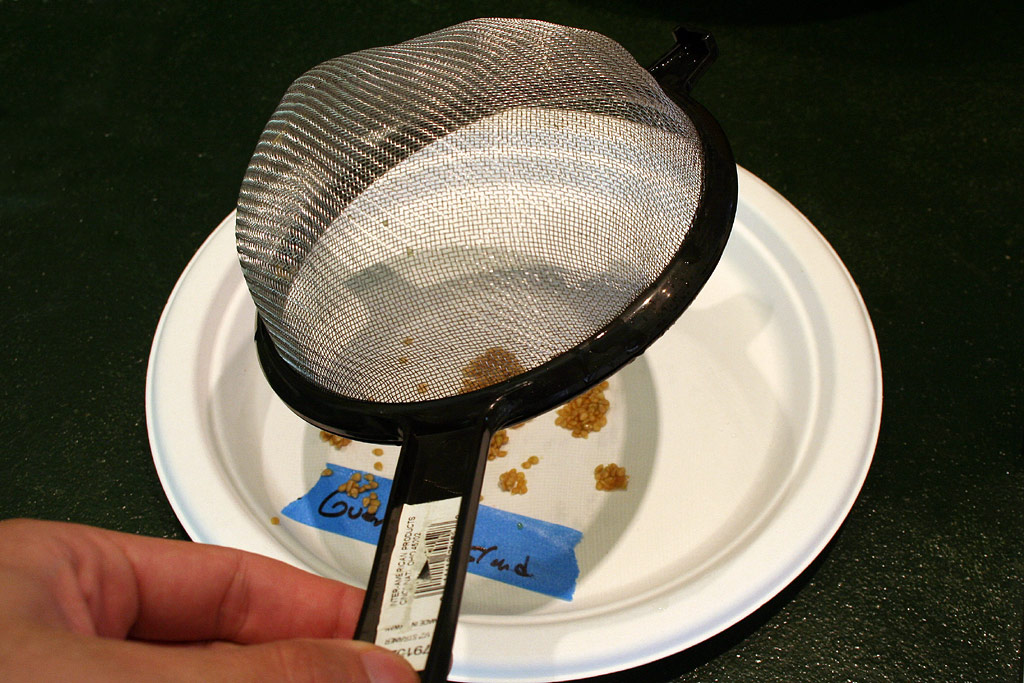
7. Use a paper towel to dry off the bottom of the strainer.
8. Turn the strainer upside down and whack it onto a non-coated paper plate to transfer the seeds to the plate.
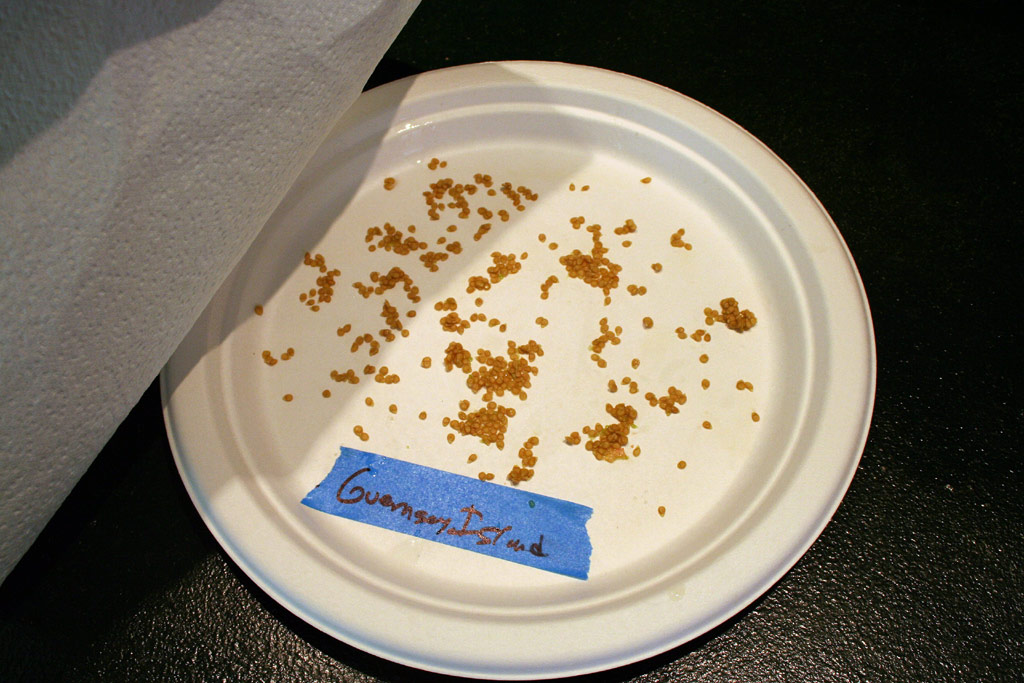
9. Spread seeds around so they are not all clumped together. This will allow the seeds will dry properly. Cover loosely with a paper towel and place out of reach of children, cats, ceiling fans, etc. for approximately 1 week or until seeds are dry.
10. Scrape seeds into a paper envelope (such as Coin Envelopes from your local office supply store) and label with variety name, year, and your seed source.
Mailing Seeds
Domestically, it is easy to mail 3-5 packets of seeds in a standard sized business envelope. Because seed packets can slide around in the envelope when handled, it is strongly recommended to take a blank sheet of letter sized paper and tape the seed packets to it in such a way that no two seed packets are overlapping.
Loose seed packets can attract the attention of postal inspectors, not to mention that seeds may be crushed by mail sorting equipment if all the seed packets slide to one end of the envelope. Bubble mailers may be used if you wish to ensure safe arrival of your seeds.
WARNING: Mailing seeds to other countries poses additional challenges. Padded/bubble mailers attract attention, so we do not recommended them. One suggestion is to mail individual seed packets inside of greeting or holiday cards. Please note that if a customs agent discovers seeds in your mail without a permit on multiple occasions, the fines can be quite excessive and even lead to incarceration!
